

Blog
Cyclist Saddle Comfort Example for Longer Rides

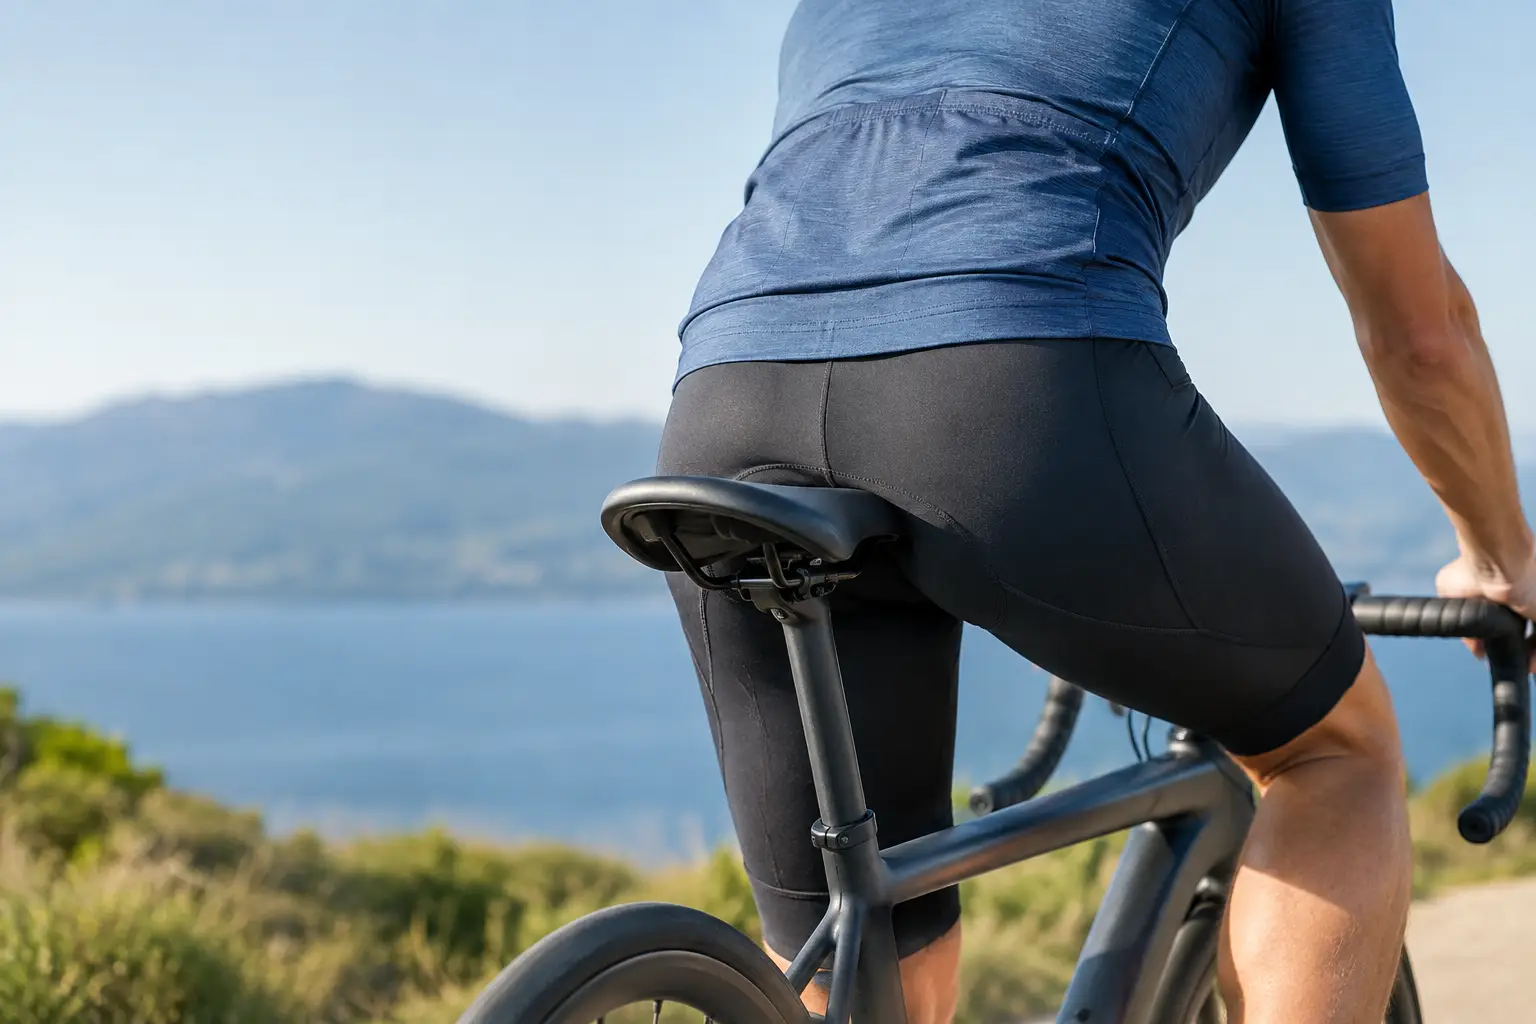
A useful cyclist saddle comfort example starts 40 kilometres into a planned 80-kilometre Sunday ride. Your legs still feel strong, the route is good and the weather is on your side. Yet you are shifting from one side of the saddle to the other, standing at every rise in the road and quietly counting down the miles home. That is not a fitness problem. It is a comfort system problem – and it can usually be improved.
Saddle comfort is not about finding one magically soft seat. It comes from the way your saddle, bike position, shorts, riding technique and skin protection work together. Get those details right and you can spend more energy enjoying the road, holding your line and finishing strong.
A cyclist saddle comfort example in real life
Imagine two riders using the same bike for a three-hour road ride. Both are wearing decent kit and both have broadly similar fitness. Rider one has a saddle that is a little too high and tilted upwards at the nose. Their hips rock slightly with every pedal stroke, creating repeated rubbing at the inner thigh and pressure at the front of the saddle. By the halfway point, heat, moisture and friction have turned a small annoyance into a burning distraction.
Rider two has set their saddle at a height that allows a smooth pedal stroke without rocking. The saddle supports their sit bones rather than pressing into soft tissue, their shorts fit snugly without folds, and they have prepared the friction-prone areas before leaving home. The ride is not pressure-free – cycling is still a sport with prolonged contact points – but discomfort does not become the focus of the day.
That is the practical difference. Comfort is not a luxury reserved for long-distance riders. It is what lets a commute, club run, gravel adventure or indoor session feel sustainable.
Start with support, not softness
When a saddle feels uncomfortable, the instinct is often to buy the thickest padded option available. More cushioning can help on a relaxed upright bike, but on a road, gravel or performance-focused bike, excessive padding may compress and create extra movement. More movement often means more rubbing.
A good saddle supports your sit bones in the position you actually ride. The more upright your posture, the wider the support area you may need. The more forward and low your riding position, the more the pelvis rotates and the shape, width and nose profile of the saddle matter. There is no universal best saddle because bodies, flexibility, riding styles and bikes differ.
Pay attention to where discomfort appears. Pain directly under the sit bones can suggest that the saddle is too firm, too narrow or simply unsuitable for your position. Numbness or concentrated pressure at the front may point to saddle tilt, reach, handlebar drop or saddle shape. Chafing around the groin and inner thigh is frequently a friction issue, although poor fit can make it worse.
A saddle with a pressure-relief channel or cut-out works brilliantly for some cyclists and poorly for others. The same goes for a curved versus flatter profile. If you can, test a saddle on a properly set-up bike rather than judging it from five minutes in a shop.
Check saddle height and angle first
Small adjustments can make a surprisingly large difference. A saddle that is too high may cause hips to sway side to side, increasing rubbing and leaving you stretched at the bottom of every pedal stroke. Too low can overload your knees and leave you sitting heavily through the whole rotation.
For angle, begin close to level. If pressure is building at the front, a very slight nose-down adjustment can help. Go carefully: tipping the saddle too far down can make you slide forward, loading your hands, arms and shoulders while creating more friction as you constantly push yourself back.
Change one thing at a time, then ride long enough to judge it properly. A position that feels fine around the block may reveal its flaws after 90 minutes.
Shorts and hygiene do more than most riders think
Your shorts are part of the contact system between body and saddle. Cycling shorts should fit close to the skin without pinching, bunching or loose seams. A high-quality chamois can reduce pressure and manage moisture, but it cannot compensate for shorts that move around or a saddle that does not suit you.
Wear cycling shorts without underwear. Ordinary underwear adds seams, fabric movement and trapped moisture exactly where you want the fewest of all three. Wash your shorts after every ride, especially in warm weather or after indoor training. Old sweat, bacteria and residue can make already-irritated skin feel worse.
The chamois should sit where it is meant to sit when you are in your riding position. If your shorts are worn out and the pad has flattened, replacing them may offer more relief than another minor bike adjustment. For regular riders, having two or three reliable pairs makes it easier to start each session in clean, dry kit.
Manage friction before it becomes chafing
Chafing is rarely dramatic at the start. It begins with warmth, dampness and repeated rubbing. Left alone, it can turn every change of position into a wince, cut a ride short and make the next day in normal clothes uncomfortable too.
Before longer rides, apply a purpose-made anti-chafe balm to clean, dry skin where you know friction occurs. For cyclists, that may be the inner thighs, groin creases, the contact area beneath the chamois or any place where skin and fabric repeatedly rub. The goal is to reduce drag before the ride, not to rescue skin after it has become sore.
RG Anti Chafe Balm is a portable option for riders who want an invisible layer of protection before training, commuting or event day. Its stick format makes application quick and avoids the mess of digging through a pot with sweaty hands. A small routine before you kit up can prevent a much bigger interruption later.
If you already have broken skin, take the sensible route: let it recover, keep the area clean and avoid piling more saddle time onto an injury. Persistent pain, swelling, numbness or skin changes deserve advice from a qualified healthcare professional.
Move well on the bike
Even a well-fitted bike benefits from an active rider. Holding one rigid position for hours concentrates pressure in one place. On safe sections of road, stand briefly on the pedals, shift your hand position and let your body reset. These small changes improve circulation and reduce the constant load through the saddle area.
Cadence matters too. Grinding a heavy gear can make you rock and brace through the pelvis. A smoother cadence usually helps keep the pedal stroke controlled and reduces unnecessary movement across the saddle. On climbs, stand when it suits the terrain rather than waiting until discomfort forces you out of the seat.
For indoor cycling, be especially deliberate. There are fewer natural opportunities to coast, stand at junctions or shift around, while heat and sweat can build quickly. Use a fan, wear clean shorts and take short standing intervals during the session.
Build comfort for the ride you actually do
A commuter doing 30 minutes each way needs a different set-up from a rider training for a sportive, and a mountain biker may prioritise freedom of movement over all-day seated support. Your saddle choice should reflect your usual position and longest realistic ride, not a trend or another cyclist’s recommendation.
Do not test new shorts, a new saddle or a new skin-prep routine for the first time on a major event. Introduce one change during familiar rides and give your body time to respond. Keep a simple mental note of where discomfort starts, how long it takes to appear and what conditions make it worse. That pattern will tell you far more than a vague feeling that the saddle is wrong.
The right set-up does not demand that you tolerate pain as part of the sport. It gives you the freedom to put your attention where it belongs: the next climb, the wheel ahead, the open road and the satisfaction of going further than last time.