

Blog
Runner Chafing Prevention Routine Example

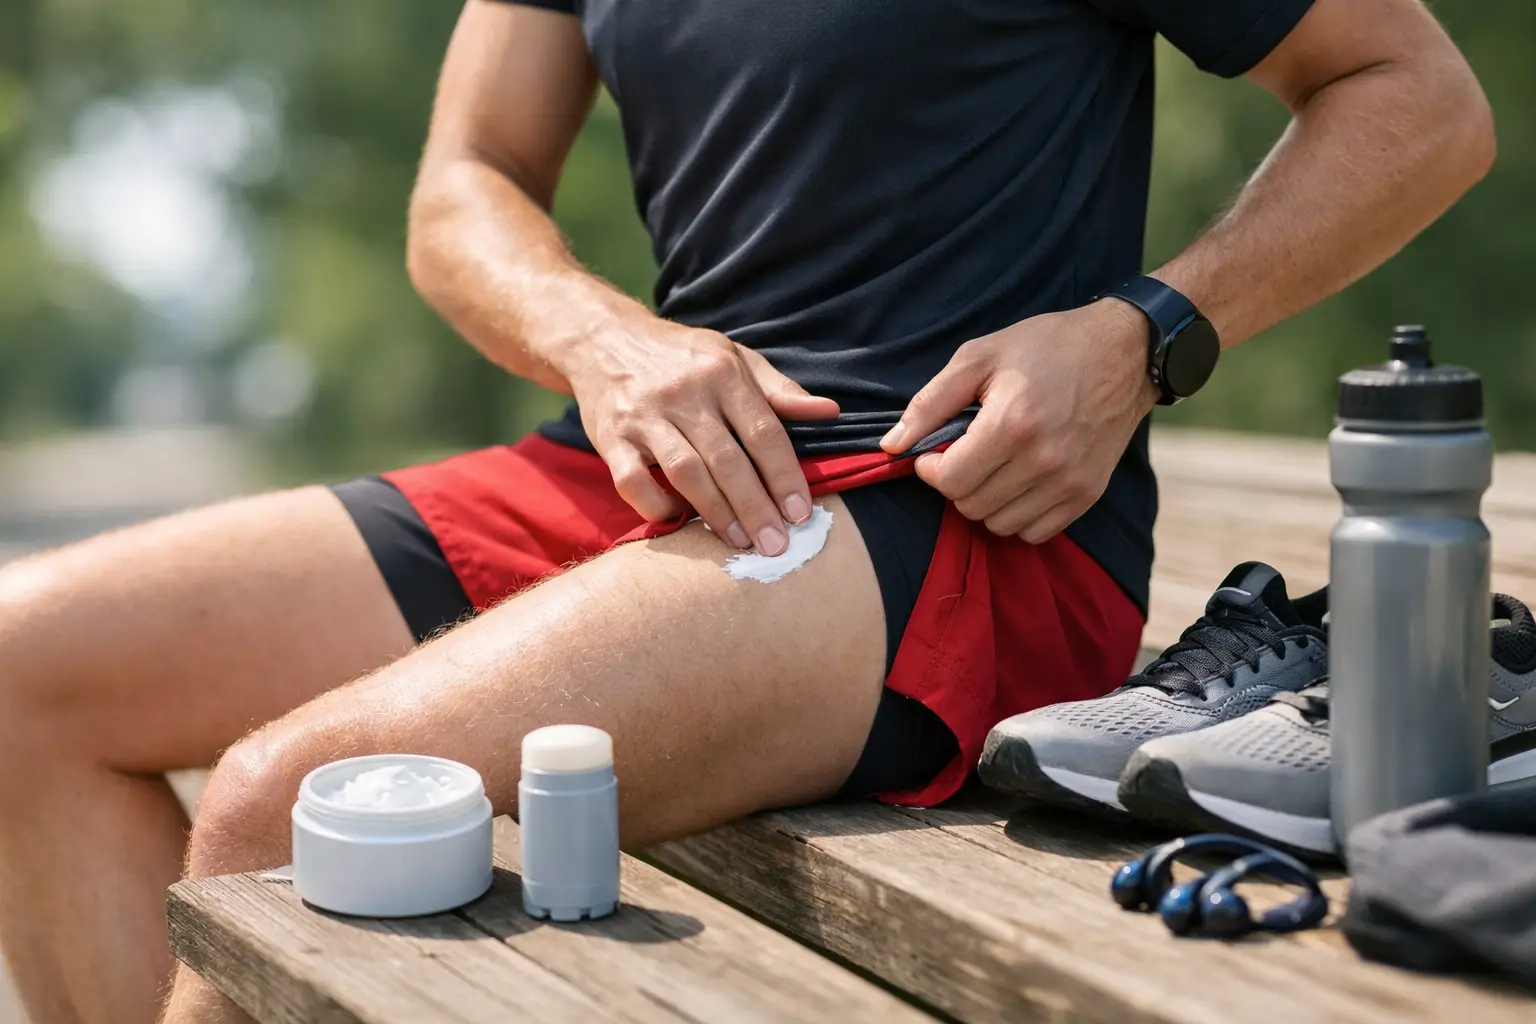
A run can feel perfect until the sting starts: inner thighs rubbing, a sports bra seam digging in, or a sock edge turning every footstrike into a warning. This runner chafing prevention routine example is built for real training days, when comfort needs to hold up beyond the first dry, easy mile.
Chafing is not a sign that you are doing something wrong. It is what happens when moisture, heat, fabric and repeated movement meet sensitive skin. The goal is not to overthink every run. It is to make friction prevention as automatic as tying your laces.
Why a routine beats a last-minute fix
Once skin is raw, running can become uncomfortable fast. Sweat makes irritated areas more vulnerable, and the friction that felt minor at kilometre three can become enough to alter your stride by kilometre eight. That is why prevention works best before you leave home, not when you are already sore.
A reliable routine has three parts: reduce friction on the skin, choose kit that does not create unnecessary rubbing, and deal with damp clothing promptly afterwards. The right balance depends on your body, the weather and the session ahead. A short winter jog may need very little preparation. A humid long run, a race, or a day in wet kit demands more.
Your runner chafing prevention routine example
Think of this as a five-minute pre-run habit. Adjust it after a few sessions based on where your skin tends to rub.
1. Start with clean, dry skin
Pat your skin dry after showering or washing. Do not apply an anti-chafe product over damp skin, body oil or heavy moisturiser if you can avoid it. These can change how a balm sits on the skin and may make you feel slippery rather than protected.
Pay attention to the areas that have caused problems before. For many runners, that means inner thighs, groin creases, underarms, beneath the bra band, around the waistband, nipples, toes and heels. Not everyone needs protection everywhere. Targeting your personal hot spots keeps the routine quick and practical.
If you are running after work, take a moment to change out of the clothes you have worn all day. Even a comfortable pair of trousers or underwear can leave the skin warm or slightly damp, which is not the ideal starting point for a hard session.
2. Apply a friction barrier before you dress
Apply an anti-chafe balm directly to clean, dry skin where rubbing is likely. Use enough to create a light, even barrier, rather than pressing hard or leaving clumps. The aim is to help skin and fabric glide past each other, not to make the area feel coated.
For inner-thigh chafing, apply across the area where your thighs meet during your stride, including slightly higher than the point where irritation normally appears. For bra-line discomfort, cover the skin beneath the band and any edge that repeatedly catches. For feet, apply to known blister zones such as heels, the sides of the big toe and the ball of the foot before putting on socks.
Runglide RG Anti Chafe Balm is designed to fit this step: a portable, petroleum-free friction barrier that can be applied before training, then carried for longer days out. A stick format also keeps your hands cleaner when you are getting ready in a hurry.
There is a trade-off here. Applying too little may leave gaps in high-friction areas, but applying product to every inch of skin is rarely necessary. Start with the spots that have a history of trouble and expand only if your training proves you need to.
3. Choose kit that works with your stride
The best anti-chafe routine cannot fully compensate for kit that is worn out, poorly fitted or saturated with sweat. Your running clothes should move with you without bunching, rolling or dragging across the same patch of skin.
For shorts and tights, look at the inseam and fit. Very loose shorts can allow more thigh-on-thigh friction, while tights that are too tight may create pressure and rubbing at the waistband or seams. A longer inseam can help some runners, especially on long runs, but it is not a universal fix. If fabric traps too much heat, it may worsen moisture and discomfort.
With sports bras and tops, check the band, armholes and labels. A bra that feels fine when standing still can rub once your arms start swinging. If a particular seam always causes a problem, save that item for shorter sessions or replace it. Repeated chafing from the same garment is useful information, not something to ignore.
Your socks matter just as much. Choose a pair that fits closely without folding at the heel or sliding down at the ankle. Damp, loose socks are a common route to blisters, particularly during rainy runs or longer races.
4. Match protection to the day ahead
Your routine should change with the conditions. Heat and humidity usually mean more sweat, while rain can leave your clothing wet for longer. Longer runs create more repeated contact, even if the pace is easy. Race-day nerves can also make you sweat more than usual.
For a short, cool run, protect only your usual problem areas. For a long run, trail event or hot-weather session, be more deliberate. Apply balm to every known hot spot, wear tried-and-tested kit, and carry a small stick if you expect to be out for several hours.
Do not make race day the first test of a new product, pair of shorts or bra. Use your long training runs to learn what lasts, what shifts and what causes irritation. This is especially helpful for runners preparing for half marathons, marathons and ultras, where small points of friction have much more time to become painful.
5. Do a 30-second final check
Before you head out, move around. Lift your knees, swing your arms, bend slightly and notice whether a waistband rolls or a bra edge catches. This quick check can reveal a problem while it is still easy to fix.
Bring water, fuel and your usual essentials for the run. If chafing is a known issue on longer distances, include your anti-chafe balm in the same pocket or belt as your gels. Prevention is most effective at the start, but a top-up at an aid stop or halfway point can be useful when conditions are especially hot, wet or demanding.
After the run: protect your next session
The post-run part of the routine is simple but often skipped. Change out of sweaty kit soon after finishing, especially after a hot commute home or a stretch in the café after your run. Rinse sweat from areas that feel tender, then pat dry rather than rubbing with a towel.
If your skin is mildly irritated, give it time to settle before the next hard session. Wear loose, breathable clothing where possible and avoid applying fragranced products to broken skin. If you have open wounds, severe pain, spreading redness or signs of infection, pause running and seek medical advice.
It is also worth keeping a mental note of patterns. Did chafing happen only after 90 minutes? Did it begin after rain? Was it connected to one pair of shorts? A few observations will help you refine your kit and application points far more effectively than guessing.
Common mistakes that make chafing more likely
The most common mistake is waiting until you feel rubbing. By that point, the skin may already be irritated. Another is assuming that expensive kit cannot chafe. Fit, seam placement and sweat management matter more than the logo on the waistband.
Some runners also use the same routine all year. Winter layers can create rubbing at the neck, underarms and waist, while summer brings more inner-thigh and bra-line friction. Review your routine when your training volume, route or weather changes.
Finally, do not rely on a product to solve a persistent fit issue. If socks slip, shorts ride up or a bra band leaves deep marks, the garment needs attention. Friction protection and well-chosen kit work best together.
Comfort is not a luxury on a run. It is what lets you focus on your breathing, your pace and the simple satisfaction of moving forward. Build the habit before your next run, and give your skin one less reason to hold you back.