

Blog
Hiker Foot Comfort for Long Days on the Trail

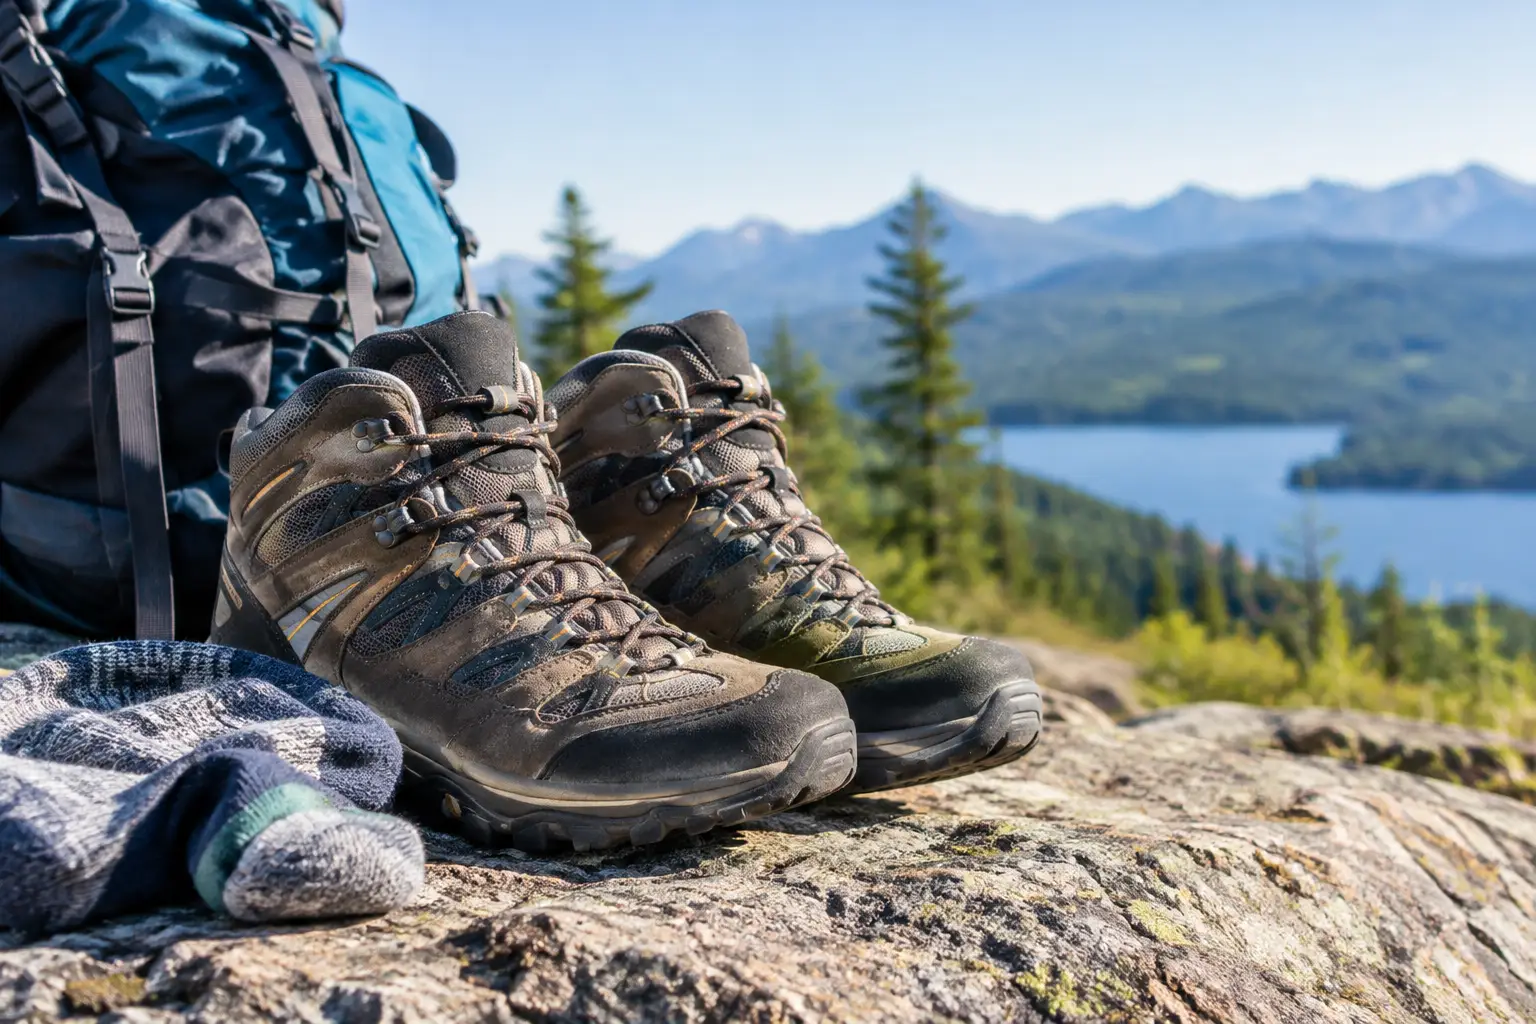
A brilliant view loses some of its shine when every downhill step stings. Hiker foot comfort is not about pampering yourself for the trail – it is what lets you keep moving when the mileage climbs, the weather turns, and the return journey is still ahead. Most foot pain on a hike is not inevitable. It is the result of friction, pressure, heat or moisture building up for longer than your feet can tolerate.
The good news is that comfort is built through a few practical decisions made before you leave the house, then protected with small adjustments on the move. Get those right and your feet can feel as ready at the end of the day as they did at the start.
Hiker foot comfort begins with fit, not footwear labels
A boot or trail shoe can be well made and still be wrong for your foot. The fit matters more than the logo, the price, or whether a friend swears by the same pair. Your toes need room to spread and move without hitting the front on descents, while your heel needs to stay secure enough to avoid rubbing with every stride.
Try footwear on later in the day, when your feet are naturally a little larger. Wear the type of socks you intend to hike in, and walk up and down an incline if the shop has one. Pay attention to pressure at the little toes, the ball of the foot, the instep and the heel collar. A slight pinch in the shop rarely disappears after six miles with a pack on.
There is a trade-off here. Footwear that is too roomy allows sliding, which creates friction and hot spots. Footwear that is too tight creates pressure, numbness and bruised toenails. Aim for secure midfoot hold, stable heels and enough toe space for swelling on longer routes.
Break in the system, not just the boots
New hiking boots deserve gradual use, but so do new socks, insoles and lacing methods. Wear the full combination on local walks before relying on it for a mountain day or multi-day trek. A boot that feels fine for an hour may reveal a rubbing seam or pressure point after three.
If your current footwear has already caused a blister in the same place twice, do not simply hope for a different result. Look at the cause: a loose heel, a cramped toe box, a worn insole, damp socks or a fold in the fabric can all be part of the problem.
Control moisture before it controls the day
Sweat, rain and stream crossings do more than leave your feet feeling unpleasant. Damp skin softens and becomes more vulnerable to rubbing. Once a sock is wet and bunched, even a familiar boot can start to feel hostile.
Choose hiking socks that manage moisture and stay in place. Merino blends work well for many hikers because they help regulate temperature and remain comfortable across changing conditions. Synthetic technical socks can dry quickly and offer a close fit. Neither choice is automatically better – the best option is the one that stays smooth, dry enough and comfortable on your own feet.
Avoid ordinary cotton socks for longer hikes. They can hold moisture and lose their shape, increasing the chance of movement inside the shoe. Bring a spare pair when the route is long, wet or warm. Changing socks halfway through the day can be a small reset with a big impact, especially if you take a few minutes to air your feet first.
Keep an eye on grit too. A tiny stone or a clump of mud in your shoe can become a pressure point surprisingly quickly. Stop, empty the shoe and smooth the sock rather than trying to walk it off. The trail will still be there in two minutes.
Protect high-friction areas before they become hot spots
Blisters are often treated as a finish-line problem, but prevention works best before the skin feels sore. Friction creates heat. Heat irritates the skin. Continued rubbing can then separate layers of skin and create the familiar fluid-filled blister.
Know your personal trouble spots. For some hikers, it is the back of the heel or the side of the big toe. For others, it is beneath the forefoot, between toes, or where a boot tongue presses across the top of the foot. These areas deserve attention before your first mile, not after pain has started.
An anti-friction balm can create a protective glide layer where skin, socks and footwear repeatedly rub. Apply it to clean, dry skin before putting your socks on, concentrating on the places that have caused problems in the past. Runglide Anti Chafe Balm is a compact, petroleum-free option designed to help reduce skin friction, making it easy to carry as part of a hiking kit rather than an afterthought at the bottom of a rucksack.
If you prefer tape or blister plasters, apply them smoothly to intact skin. They can be useful, particularly where a boot edge repeatedly catches, but they need to stay flat. Creased tape can create the very friction you are trying to prevent.
Act at the first warm or prickly feeling
A hot spot is an early warning, not a challenge to push through. The moment an area starts to feel warm, tender, itchy or unusually pressured, stop and investigate. Take off the shoe, check for a wrinkled sock, remove debris and dry the area if needed. Then add protection before continuing.
This is one of the most useful habits on the trail. A five-minute pause can prevent a blister that changes your gait, slows the group and makes the next few days uncomfortable. Strong hiking is not always about pressing on. It is about making smart calls early enough to matter.
Use lacing to solve the problem you actually have
Many hikers lace their boots once in the morning and never touch them again. Yet feet swell, terrain changes and comfort needs shift throughout the day. Lacing is one of the simplest ways to fine-tune the fit without buying new footwear.
For heel lift, use a heel-lock lacing technique near the top eyelets to hold the rear of the foot in place. For pressure across the top of the foot, ease the tension over the tender area rather than tightening every eyelet equally. Before a long descent, secure the ankle and midfoot a little more firmly so your toes are less likely to slide forward.
Do not over-tighten in pursuit of stability. Pins and needles, cold toes or a throbbing forefoot are signs that the fit may be too restrictive. Loosen, reassess and let circulation recover. Comfort and control should work together.
Prepare for the route, not an imaginary perfect day
A short, dry woodland loop asks different things of your feet than a rocky ridge, a rainy coastal path or a summer trek with a heavy pack. Match your preparation to the terrain and conditions. More descent usually means more toe pressure. Heat increases sweat and swelling. Mud and rain raise the value of spare socks and a waterproof way to store them.
Your pace also matters. Fast movement, a heavier load and tired legs can change your foot strike and increase rubbing. Build distance gradually before an ambitious event or walking holiday. Conditioning your feet is not glamorous, but it is part of endurance.
After the hike, take care of small issues while they are still small. Wash and dry your feet thoroughly, inspect any tender areas and let footwear dry fully before the next outing. If a blister has formed, protect it from further rubbing and keep it clean. Seek medical advice promptly for signs of infection, or if you have diabetes, poor circulation or reduced sensation in your feet.
The aim is not to notice your feet every second of the day. It is to trust them. Pack the right socks, check your fit, protect friction-prone skin and respond early when something feels off. Then put your attention where it belongs: the climb ahead, the people beside you and the satisfaction of reaching one more view under your own power.