

Blog
How a Hiker Prevented Heel Blisters on an Alpine Trek

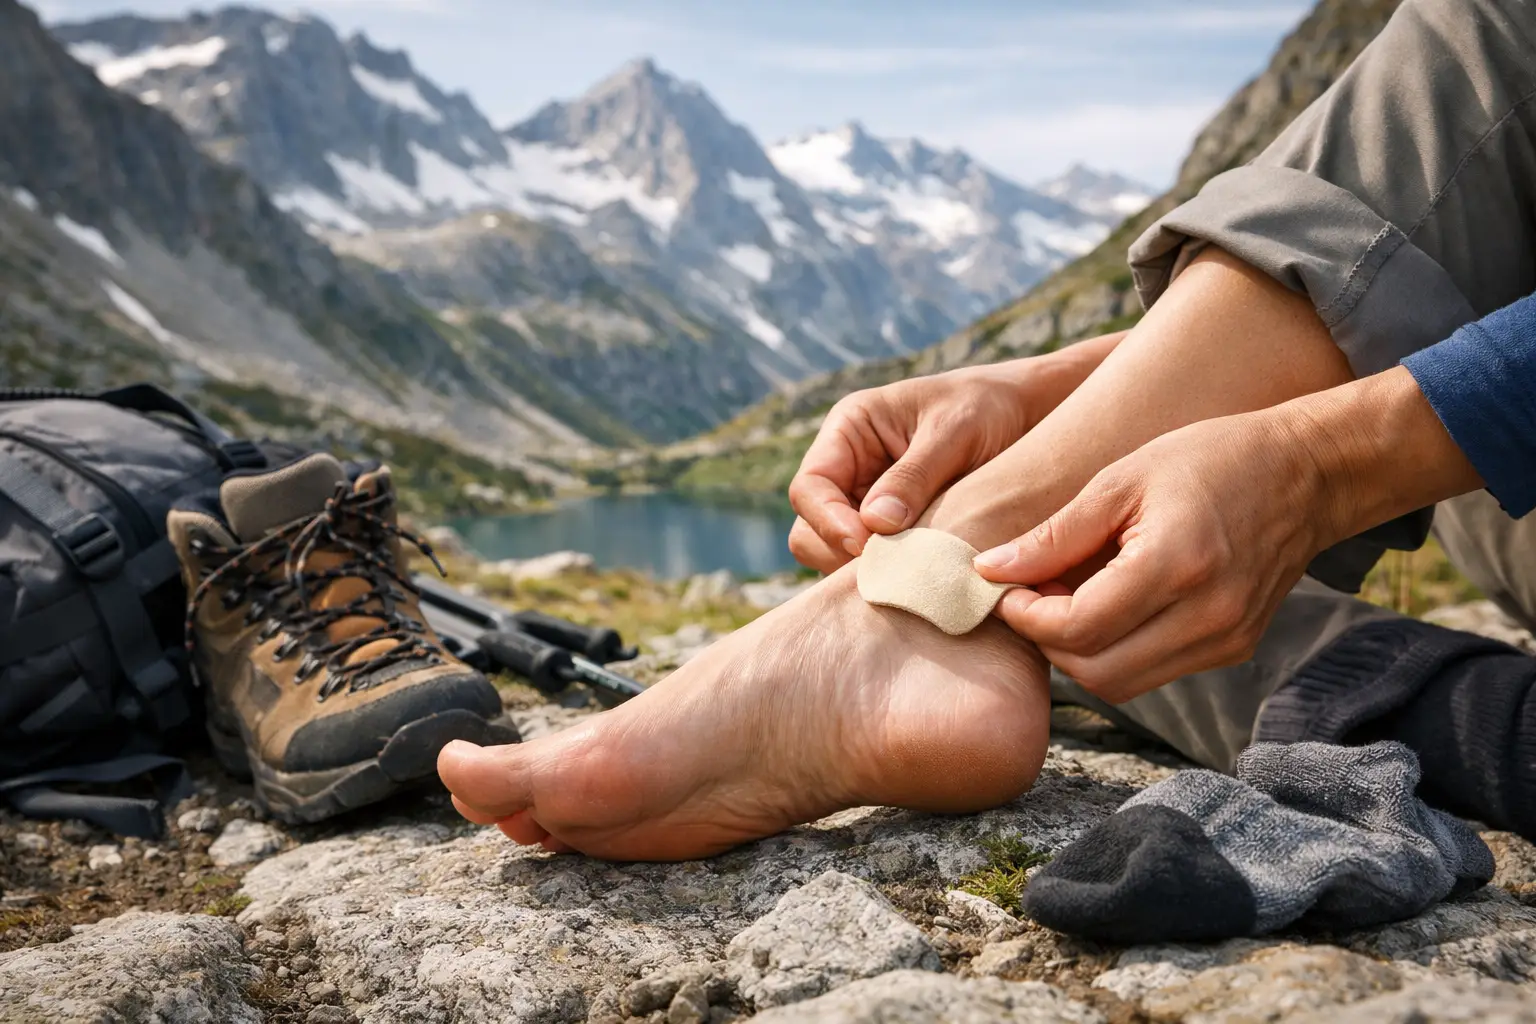
The first warning came halfway through a long ascent: a warm, rubbing patch at the back of the heel, right where the boot collar moved with every step. A hiker prevented heel blisters on an alpine trek not through luck or tougher skin, but by treating that small hot spot as a problem worth solving immediately. On steep terrain, a five-minute stop can protect the rest of the day.
That matters because alpine days are rarely gentle on feet. Long climbs, sharp descents, damp weather, uneven ground and a loaded pack all increase movement inside the boot. Once a hot spot becomes a blister, each step changes. You compensate, your stride shortens, and an enjoyable trek can become an exercise in managing pain.
Why alpine terrain is hard on heels
Heel blisters are caused by repeated friction and shear. Put simply, the skin and the lining of your sock or boot move against one another often enough to damage the outer layers of skin. Heat and moisture make the process faster, while pressure from a stiff heel counter can make it more intense.
Alpine trekking adds a few complications. Uphill, feet can slide back and lift slightly with each stride. On descents, they tend to travel forwards, pressing toes into the front of the boot while the heel rubs as you brake. Rain, stream crossings and sweat can leave socks damp for hours. Even a boot that felt excellent on a short local walk can behave differently after six hours on rocky ground.
A common mistake is blaming the boot alone. Poor fit certainly causes problems, but blisters usually come from a combination of fit, lacing, socks, moisture and the way the body moves under fatigue. The good news is that every one of those factors can be managed.
How the hiker prevented heel blisters on an alpine trek
The most effective choice was made before the first kilometre: the boots had already been worn on progressively longer walks. Breaking in footwear does not mean enduring pain until the material gives up. It means confirming that the heel stays secure, the toe box has room for downhill movement, and no seam or firm edge repeatedly catches the skin.
On trek day, the hiker used a snug but not restrictive lacing pattern. The lower laces held the midfoot in place, while the upper section was tightened to reduce heel lift. A simple heel-lock lacing technique can help here, especially for narrow heels or steeper climbs. The aim is stability, not circulation-cutting pressure. If toes feel numb or the top of the foot aches, loosen the laces and reset them.
The next layer of protection was the sock system. Fresh, well-fitting technical socks helped move moisture away from the skin and reduced bunching. Thick socks are not automatically better. A sock that is too bulky can create pressure and make a properly fitted boot feel tight. For some trekkers, a thin liner beneath a walking sock reduces skin-on-fabric movement. For others, one quality sock is more comfortable. Test both approaches before a big route rather than experimenting halfway up a mountain.
Before putting on socks, the hiker applied anti-friction balm to known trouble spots: the back and sides of both heels, plus any area that had rubbed on previous walks. This creates a protective glide layer, so the sock and boot are less likely to drag against the skin. Runglide RG Anti Chafe Balm is a practical stick option for this job because it is easy to apply precisely, easy to carry and made for friction-prone movement.
The final piece was paying attention early. At the first hint of heat, rubbing or tenderness, the hiker stopped. Boots came off, socks were checked for creases, and the heel was dried before protection was reapplied. That short reset prevented the hot spot from becoming a raw patch that would have worsened on every descent.
Prevention starts before the trailhead
A reliable blister-prevention routine begins with boot fit. Try boots later in the day, when feet are slightly more swollen, and wear the socks you plan to trek in. Your heel should not rise noticeably as you walk uphill, but your toes should not touch the front when you walk downhill. If you can, test the fit on an incline rather than only on a flat shop floor.
Do not save new boots for a multi-day alpine route. Build up from shorter walks to longer days with the pack weight you expect to carry. This reveals pressure points when there is still time to change socks, alter lacing, use different insoles or choose another pair of boots.
Pack care items where you can reach them without emptying your rucksack. You do not need a complicated foot-care laboratory, but you do need to be ready when friction starts. Include a spare pair of dry socks, blister dressings or tape that you have tested on your skin, a small cloth for drying feet, and an anti-friction balm. If the forecast is wet, that spare sock pair becomes even more valuable.
Respond to a hot spot before it becomes a blister
A hot spot is useful information, not something to ignore until the next café stop. It may feel like a warm sting, a tender patch or the sense that one specific place is being rubbed. Stop when you first notice it.
First, inspect the cause. Is the sock folded? Has grit entered the boot? Are laces too loose for the climb or too tight over the instep? Is the heel damp? Fixing the underlying issue matters as much as adding a dressing.
If the skin is intact, dry it thoroughly and reduce friction before continuing. A balm can help reduce further rubbing; tape or a blister pad may add protection where there is a persistent pressure point. Choose the approach that stays put for you. Tape can be highly effective on dry skin, but rain, sweat and frequent sock changes may affect adhesion. A pad can cushion a tender area, though it also takes up space inside the boot and may create pressure if footwear is already snug.
If a blister has formed, protect it from further rubbing and consider the terrain ahead. Small, unbroken blisters are often best left intact and covered. Large, very painful or torn blisters need careful cleaning and protection. On a remote route, worsening pain, spreading redness, heat, swelling or discharge are reasons to stop treating it as a minor inconvenience and seek medical advice.
Descents deserve their own plan
Many hikers prepare for uphill effort but forget that descents are often tougher on feet. As slopes steepen, the body shifts forwards and boots can become a sliding chamber. Before a major descent, take a minute to relace. Secure the ankle and midfoot so the foot does not repeatedly drive forward, while keeping enough room for natural circulation.
Shorter steps help too. They reduce the hard braking force that pushes feet into the front of the boot. Trekking poles can take some load from the legs and help maintain balance, which may also reduce the awkward, sudden foot movements that cause rubbing. They are not essential for every walker, but on long, loose or steep descents they can be a sensible tool.
Hydration and fuelling also belong in a foot-care plan. As fatigue builds, form becomes less precise and small fit issues become more obvious. Drink regularly, eat enough, and take a brief pause before discomfort turns into compensation. Strong trekking is often less about pushing constantly and more about making small decisions early.
Make friction prevention part of your kit
The best alpine kit earns its place by preventing a bigger problem. A spare layer keeps a cold stop from becoming miserable. A waterproof protects the day when weather turns. Friction protection does the same for your feet: it keeps a manageable sensation from becoming the reason you cut a route short.
Your perfect setup may differ from someone else’s. Some people need a roomier toe box, others need a firmer heel lock. Some thrive in liner socks, while others get their best result from one lightweight technical pair. What should not vary is the habit of testing your system before a big day and responding at the first sign of rubbing.
The mountains will still demand plenty from you. Your footwear should not demand your attention with every step. Prepare your heels, carry the small essentials, and let your energy go where it belongs: towards the next ridge, the next view and the trail still waiting ahead.