

Blog
Walking Heel Blister Results and What They Mean

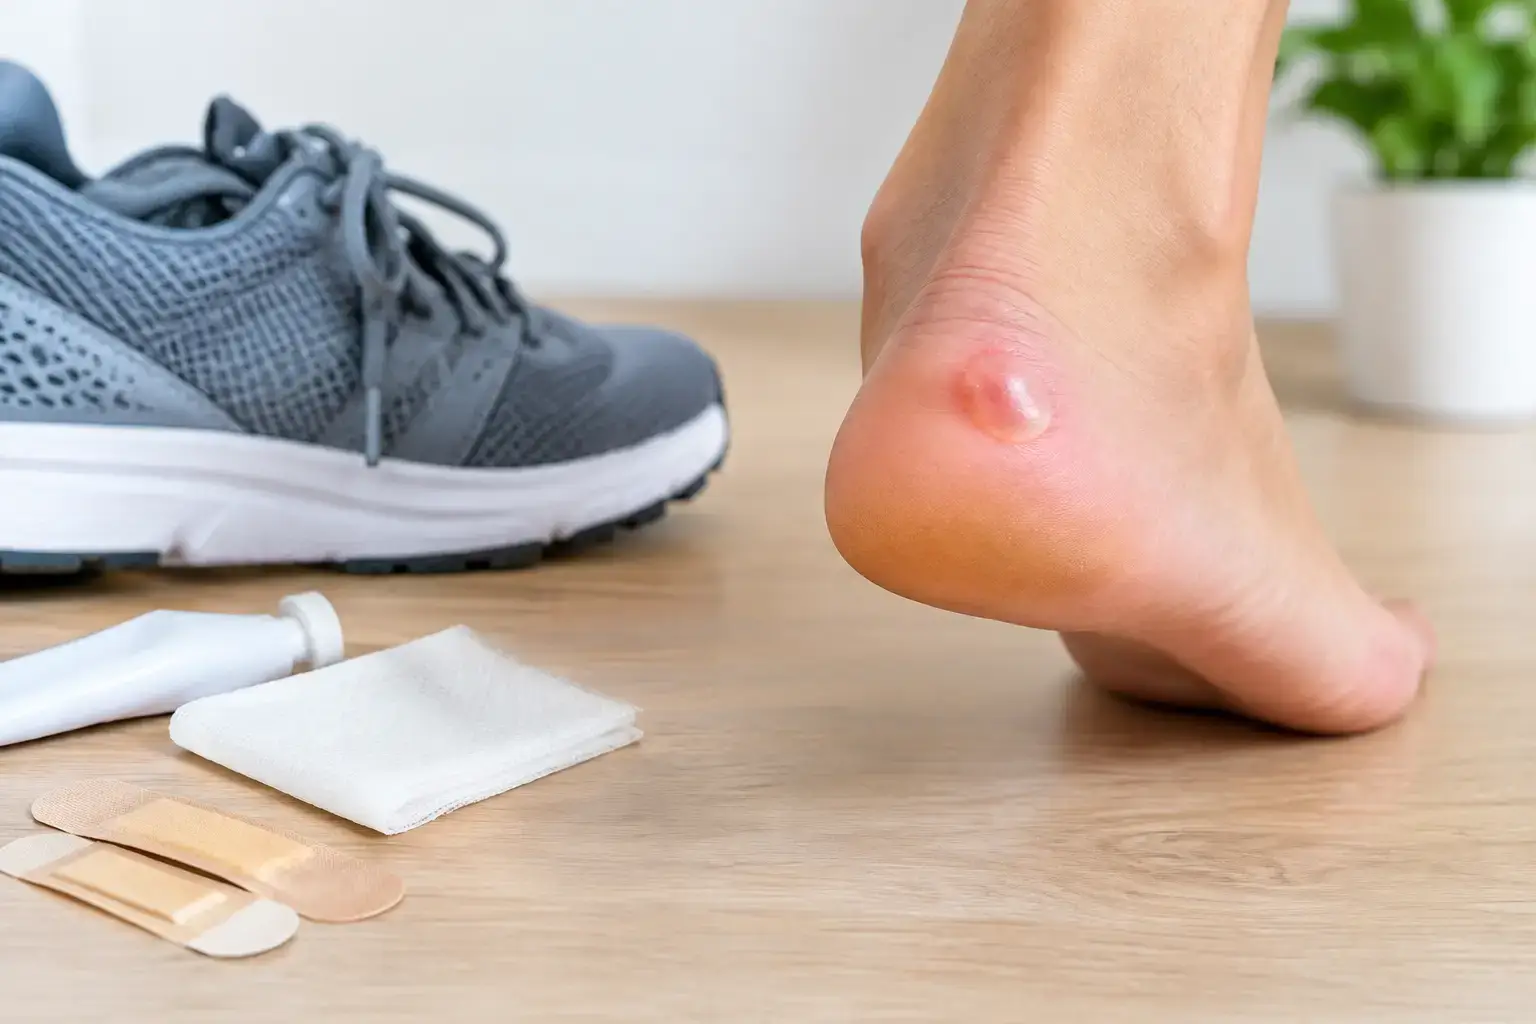
A heel blister can turn a planned ten-mile walk into a frustrating shuffle before you have reached the first viewpoint. The good news is that walking heel blister results are rarely random. They usually point to a repeatable combination of rubbing, moisture, pressure and footwear movement – which means you can change the result before your next outing.
Whether you walk for fitness, commute on foot, explore on holiday or spend long days hiking, your heels do a huge amount of work. Give them the right conditions and they will carry you comfortably for miles. Ignore early warning signs and a small hot spot can become the reason you cut the day short.
Walking heel blister results: what your feet are telling you
A blister forms when repeated friction separates the upper layers of skin and fluid fills the gap. At the heel, this often happens because the back of the shoe moves slightly against the skin with every step. It does not take dramatic rubbing. Thousands of tiny repeats are enough.
The location and timing of the blister matter. A blister directly on the back of the heel often suggests heel lift in the shoe. One at the side of the heel may point to a shoe collar that is too stiff, a seam in your sock, or the foot rolling in a way that creates concentrated pressure. If the issue appears only on long walks or warm days, sweat and damp socks are likely making the skin more vulnerable.
A clear, fluid-filled blister is the most common result of friction. Blood blisters can occur when the rubbing is paired with heavier pressure or pinching. Broken blisters leave tender, exposed skin that needs protecting from further rubbing and dirt. None of these outcomes mean you are weak or simply need to “toughen up”. They mean the friction load has exceeded what your skin could tolerate that day.
The useful lesson is simple: do not wait for a full blister to act. Heat, tingling, stinging and a tender patch are your early alerts. Stop when practical, check your footwear and deal with the hot spot while it is still manageable.
Why heel blisters happen on walks
The biggest culprit is movement between your heel, sock and shoe. New boots are an obvious suspect, but well-worn trainers can cause trouble too. As cushioning compresses and heel counters soften, the foot may start sliding more than it used to.
Fit is more nuanced than shoe size. A shoe can feel comfortable while standing in a shop yet allow enough heel movement to rub over several miles. Laces that are too loose can create lift, but laces pulled too tightly may force the heel into a pressure point. A secure midfoot and locked-in heel should feel supported, not squeezed.
Moisture changes the equation. Wet skin is softer and more likely to shear, while damp socks can bunch and rub. Rain, warm weather, stream crossings and long days on the move all make moisture management more important. Breathable socks that fit smoothly are often as valuable as the shoes themselves.
There is also the reality of a changing walking routine. A longer route, a heavier pack, steep descents, faster pace or a new pair of insoles can alter where force travels through the foot. Even a reliable footwear set-up deserves a check when your training or terrain changes.
Prevent the hot spot before it becomes a blister
Blister prevention works best as part of getting ready, not as an emergency repair halfway through a walk. Start by putting on clean, dry socks that do not wrinkle at the heel. Choose walking socks that stay in place and suit the conditions, rather than relying on a thick pair that may trap more heat and sweat.
Next, check the shoe fit in motion. Walk downstairs, climb a slope and take a few brisk laps before committing to a long route. Your heel should not noticeably rise with each step. If it does, a heel-lock lacing method can improve security without crushing the forefoot. If the shoe still slips, it may be the wrong shape for your foot rather than a lacing problem.
For areas that repeatedly rub, create a friction barrier before you leave. An anti-chafe balm reduces the drag between skin, sock and footwear, helping your heel move more comfortably rather than catching on each step. Apply it to clean, dry skin over the back and sides of the heel, paying attention to your usual problem area. A compact stick is easy to keep in a kit bag, walking pack or travel bag for reapplication when needed.
Runglide RG Anti Chafe Balm is designed for this kind of practical protection: a portable, petroleum-free friction barrier for people who want to keep moving without letting hot spots dictate the plan. It is not a substitute for shoes that do not fit, but it is a smart layer of invisible armour when friction is the issue.
For a new pair of boots or shoes, build distance gradually. Wear them on short local walks first, then extend the time and terrain. This gives you a chance to spot rubbing patterns before you are miles from home. Breaking in footwear is not about enduring pain. It is about identifying and fixing small problems early.
What to do when you feel rubbing mid-walk
The best time to handle a hot spot is the first moment you notice it. Continuing for another mile to see whether it settles is rarely a winning strategy. Stop, remove the shoe and sock, and look for a wrinkle, grit, dampness or a section of the shoe that is pressing into the heel.
Dry the area if you can, then apply your friction barrier to intact skin. If you carry a suitable blister dressing or tape, use it to shield the tender area from further rubbing. Refit your sock smoothly and adjust your laces before setting off again. A two-minute reset can save days of discomfort.
If a blister has already formed, protect it from further friction. In many cases, leaving the skin roof intact offers useful natural protection. Keep the area clean and cover it with an appropriate sterile dressing if needed. Avoid deliberately popping a blister unless you have appropriate clinical guidance, particularly if you have diabetes, poor circulation, reduced sensation in your feet or a weakened immune system.
Seek advice from a pharmacist or healthcare professional if you notice spreading redness, warmth, swelling, pus, increasing pain or feel unwell. Those can be signs that the area needs more than home care.
Adjust your walking system, not just your shoes
The most reliable walking heel blister results come from treating prevention as a system. Shoes, socks, lacing, moisture, distance and friction protection all work together. Changing only one factor can help, but it depends on what caused the rubbing in the first place.
For example, a waterproof boot may be ideal for a wet hill day but less breathable on a warm urban walk. A thicker sock can add cushioning in roomy boots but create unwanted pressure in a close-fitting trail shoe. There is no single best set-up for every foot, route or season. The aim is to learn what keeps your own heels dry, stable and free to move without rubbing.
Keep a mental note after each longer walk. Did the rubbing start on climbs, descents or flat ground? Was one heel worse? Were your socks damp? Did you change footwear, insoles or pace? These details turn an annoying blister into useful feedback and make your next outing more comfortable.
Your walk should be remembered for the route, the fresh air and the miles you covered – not for the sore patch at the back of your shoe. Protect your heels early, respond to hot spots quickly and give yourself every chance to keep going with confidence.