

Blog
UK Hiking Blister Guide for Pain-Free Miles

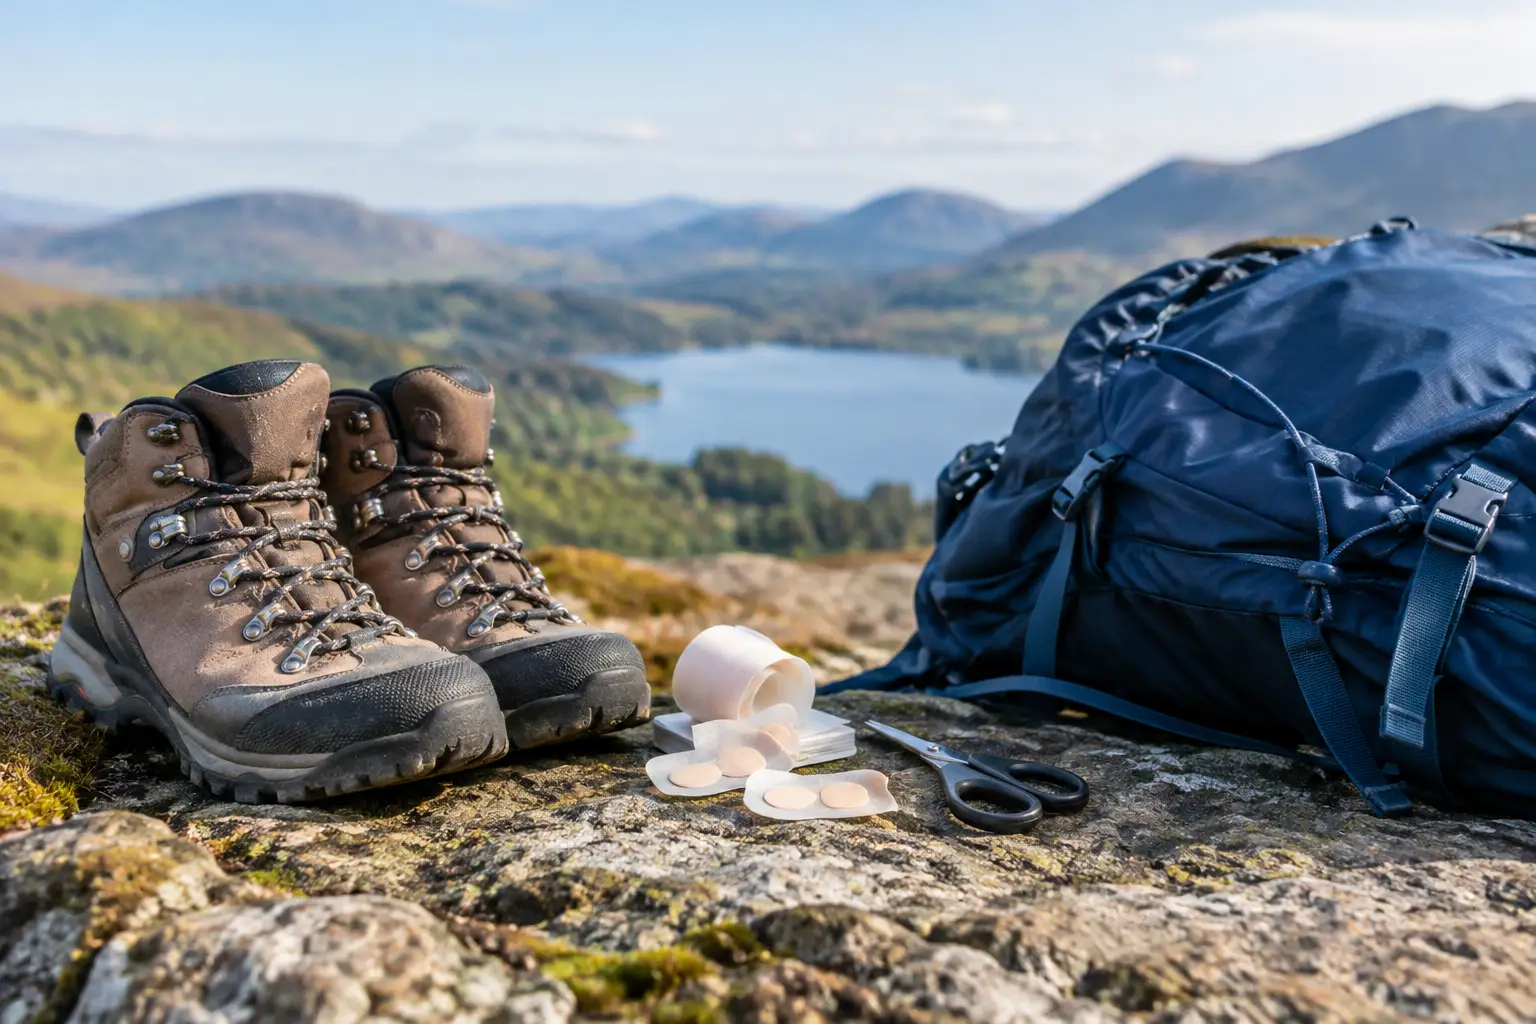
A brilliant day on the fells can be undone by one tiny patch of rubbing skin. That is why this UK hiking blister guide starts before you leave the car park: blisters are usually the result of friction, heat and moisture building over time, not bad luck halfway up a ridge. Get ahead of those three forces and your feet are far more likely to carry you comfortably through every mile.
UK Hiking Blister Guide: Stop Hot Spots Early
A hot spot is the warning light. It may feel like a warm, tender or slightly stinging area on your heel, toe, sole or the side of your foot. Ignore it and the repeated movement of sock against skin can separate the upper skin layers, allowing fluid to collect beneath them.
Stop when you first notice it. Take off your boot or shoe, let the area dry and check for a crease in your sock, grit, a worn seam or a lacing pressure point. A small adjustment at this stage can save the rest of your walk. Trying to push on for another hour because the summit is close often turns a manageable hot spot into a painful blister that changes your stride.
British conditions make this especially relevant. A dry start can become rain, bog and wet grass by lunchtime. Even on a clear summer day, steep ascents can leave feet damp with sweat. The solution is not one magic item. It is a system that keeps friction low and lets you respond quickly when conditions change.
Start With Footwear That Fits Your Actual Feet
Most hiking blisters begin with poor fit, but fit is more nuanced than simply buying your usual size. Feet swell during long walks, particularly in warm weather, on descents and when carrying a heavy pack. Your hiking footwear needs enough room at the front for your toes, without letting your heel lift with every step.
Try boots or trail shoes on later in the day, wearing the socks you plan to hike in. Walk downhill if the shop has a ramp, or use an incline board where available. Your toes should not jam against the front, and your heel should feel held rather than clamped. Stiff new boots also need gradual break-in walks before a full-day route. A boot can feel comfortable around the house and still reveal a rubbing point after four wet miles.
The right choice depends on your route. Supportive boots can be useful for uneven mountain terrain and heavier loads, but their higher, firmer uppers may create pressure points if they are not properly broken in. Lightweight trail shoes dry faster and may feel freer on gentler paths, though they can allow more movement if sizing or lacing is off. Neither is automatically blister-proof.
Lace for the terrain, not just the car park
Lacing changes how your foot moves inside the shoe. Before a long climb, secure the midfoot so your foot is not sliding around. Before a sustained descent, use a heel-lock lacing technique to reduce forward movement and protect your toes. Do not lace so tightly that your feet tingle, ache or go numb. The goal is secure contact, not compression.
Re-lace after the first 20 to 30 minutes if needed. Feet settle once you are moving, and a quick adjustment is much easier than dealing with a rubbed heel later.
Keep Socks Dry, Smooth and Ready to Change
Socks manage more than warmth. They control moisture, cushion high-pressure areas and create the first barrier between your foot and footwear. Choose hiking socks that fit closely, with no loose fabric bunching beneath the arch or around the toes. Technical synthetic blends and merino blends are popular because they move moisture better than ordinary cotton, which tends to stay wet and increase rubbing.
Sock thickness should match the volume of your footwear. A thick sock in an already-snug boot can create pressure, while a very thin sock in a roomy boot may let your foot move too much. Test the full combination before a big hike: footwear, socks, insoles and any blister prevention products.
For long, wet or multi-day walks, pack a dry spare pair in a waterproof bag. Changing socks at a lunch stop is one of the simplest morale boosts on the trail, and it gives you a chance to inspect your skin before a small problem grows.
Build a Friction Defence Before You Walk
If you know your usual trouble spots, treat them before they rub. Common areas include the back and side of the heel, the ball of the foot, the little toe, the big toe and where toes touch. A friction-reducing balm creates a protective glide layer so skin is less likely to drag repeatedly against fabric or footwear.
Apply it to clean, dry skin before putting on socks, paying attention to the places that have caused issues on previous walks. Reapply on longer days if sweat, stream crossings or rain have washed away your protection. This is not about making your feet slippery inside your boots. Used where friction happens, it is practical invisible armour for the skin.
Runglide Anti Chafe Balm is an easy stick-format option for hikers who want targeted, portable friction protection without petroleum or oils. Keep it accessible rather than buried at the bottom of your rucksack, alongside plasters and a dry pair of socks.
Some walkers prefer tape or blister dressings over known rubbing points. They can work well, but only when applied smoothly to dry skin and tested in advance. Tape that folds, lifts or becomes saturated can create a new rubbing edge, so it is not always the best solution in persistent rain.
What to Carry in Your Blister Kit
A small foot-care kit earns its space on any hike. It should contain blister plasters or dressings, a small roll of suitable tape, antiseptic wipes, a few sterile gauze pads, spare socks and a small bag for wet items. Add your friction balm and any personal medication you regularly need.
Keep it easy to reach. The best time to use it is at the first sign of discomfort, not when you have marched on until every step hurts. If you are walking with friends, say something early. A five-minute pause is kinder to the group than an hour of slow, painful progress later.
How to Deal With a Blister on the Trail
First, stop the rubbing. Clean and dry the area as well as you can, then protect it with a dressing that cushions the blister and stays in place. If the skin is intact, try not to pop it. The roof of the blister is a natural protective layer and removing it can increase soreness and the chance of infection.
If a blister has already burst, gently clean it, leave any attached skin in place if possible and cover it with a sterile dressing. Change the covering when it becomes wet, dirty or loose. You may need to shorten the route, change your footwear or arrange a lift home. There is no performance prize for turning a minor injury into days off your feet.
Seek medical advice promptly if you notice any of the following:
- Increasing redness, heat, swelling or throbbing pain around the blister.
- Pus, a bad smell or red streaks spreading away from the area.
- Fever or feeling generally unwell.
- A blister that is unusually painful, keeps returning or is linked to a medical condition affecting circulation, sensation or healing.
Plan for the Walk You Are Actually Doing
A gentle coastal path, a muddy Peak District loop and a steep day in Snowdonia place different demands on your feet. Distance matters, but so do elevation, pack weight, surface, weather and whether you are still testing new kit. Build up gradually before an ambitious route, particularly if you have been mostly walking on pavements or treadmill running.
Check your feet at natural pauses: after the first climb, at lunch and before a long descent. Remove grit, smooth your socks, dry damp skin and reapply protection where necessary. These small habits make the difference between finishing strong and limping through the final miles.
Your feet do not need to tough it out to prove you are a hiker. Prepare them, listen when they complain and act at the first hint of friction. Then you can keep your attention where it belongs: on the path ahead, the weather rolling over the hills and the simple freedom of moving well.