

Blog
Heel Pads: Relief, Fit and Blister Prevention

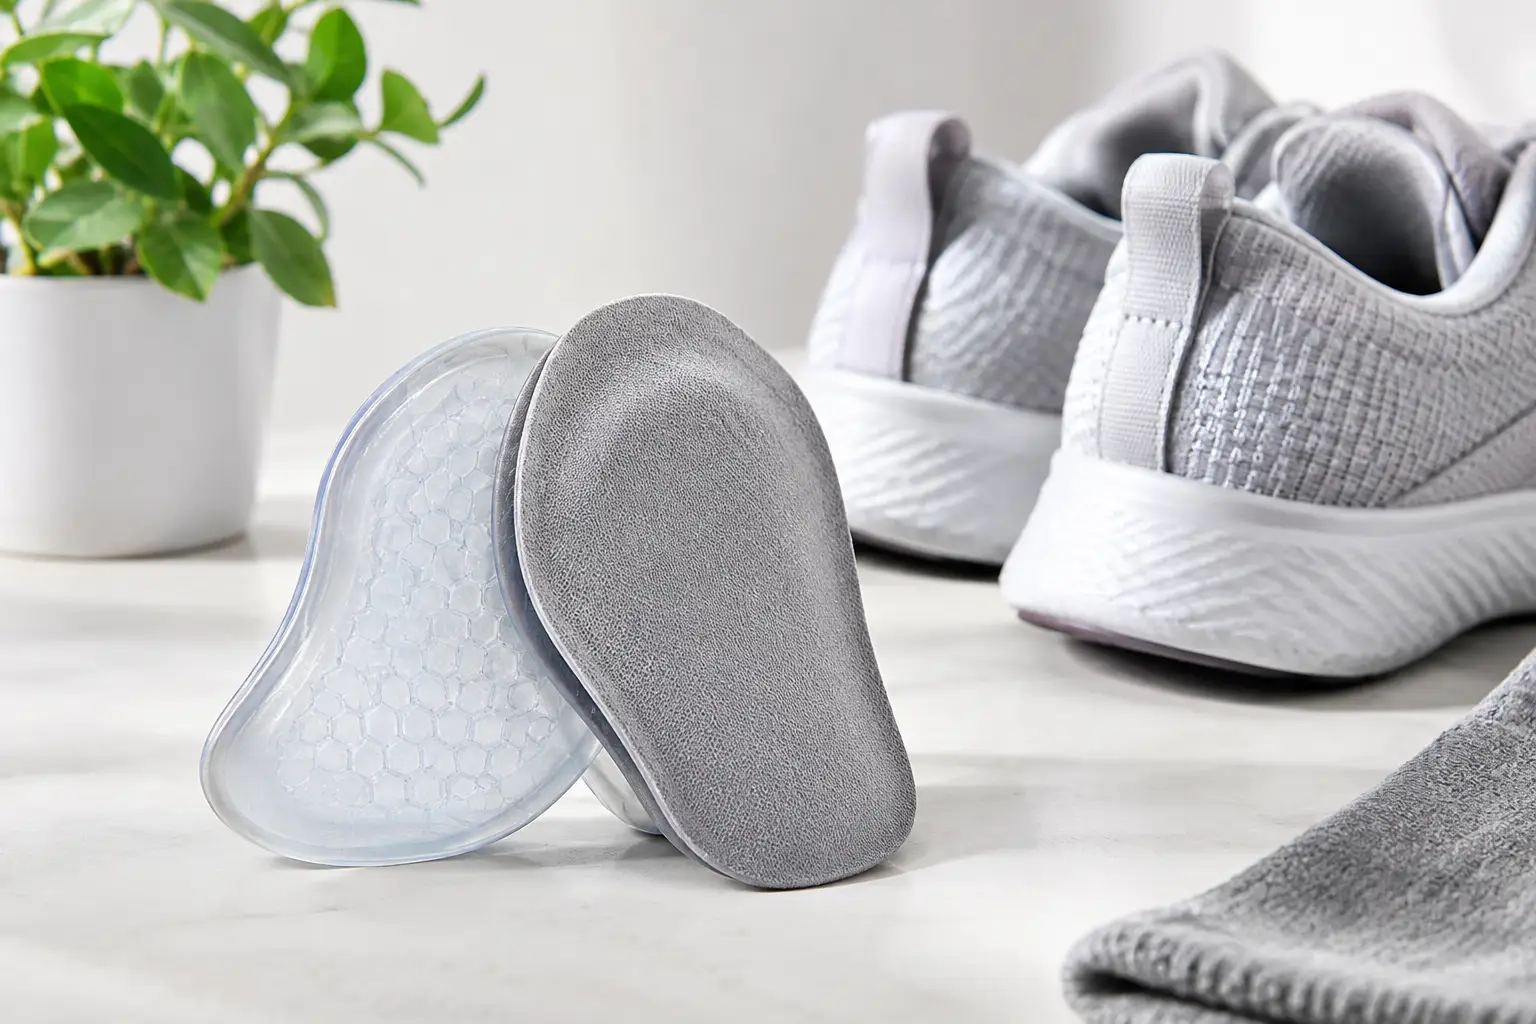
A heel that starts rubbing at kilometre three can turn a promising run, hill walk or city day out into a countdown to stopping. Heel pads can make footwear feel more secure and cushioned, but they are not all designed for the same job. Choose the wrong type and you may simply move the pressure or friction somewhere else.
The useful question is not just, “Do I need heel pads?” It is: what is my heel doing inside this particular shoe? Slipping, taking repeated impact, meeting a rough seam, or feeling cramped all call for a different solution.
What heel pads are designed to do
Heel pads are inserts or adhesive pieces placed around or beneath the heel area of a shoe. They generally fall into two categories: pads that sit under the heel to add cushioning, and heel grips that stick to the inside back of the shoe to reduce slipping.
Cushioning pads are often made from gel, foam, felt, cork or layered materials. Their role is to soften the feel of impact and slightly alter how pressure is distributed beneath the heel. Heel grips, sometimes called heel liners, are thin padded strips fixed to the heel counter – the firm rear section of a shoe. They take up spare room and create a gentler surface where the shoe meets the skin.
That distinction matters. If your heel is lifting out of a trainer, a gel insert under the foot may not stop the movement. If impact is the issue, an adhesive grip at the back is unlikely to change much. Good comfort comes from matching the pad to the problem, rather than adding cushioning by default.
When heel pads can help
Heel pads can be a practical short-term or everyday adjustment when a shoe is only slightly too loose, when an older pair has lost some internal padding, or when you want a little more comfort on firm surfaces. They can also be useful when breaking in smarter shoes that fit well overall but have a stiff heel counter.
For runners and walkers, a heel grip may help if the shoe is secure through the midfoot but there is a small amount of lift at the back. Less movement can mean less rubbing, which is particularly welcome on longer sessions, wet-weather walks and travel days where changing shoes is not an option.
Under-heel pads can suit people who find hard soles tiring on pavements or who prefer a softer landing in casual footwear. However, more padding is not always better. A thick pad can raise the heel, reduce room at the top of the shoe, and change how your foot sits against the collar. In a close-fitting running shoe, even a few millimetres can be enough to create a new hot spot.
Choose the type that matches your footwear
The material and shape of heel pads affect their feel as much as their thickness. Gel tends to feel soft and springy, though it may make some shoes warmer and can shift if it is not secured well. Foam is light and often works well in trainers or everyday shoes, but it compresses over time. Felt provides firmer, more targeted cushioning and can be useful where you want less bulk.
For shoes that are slightly too large, thin adhesive heel grips are usually the sensible starting point. Look for a grip that follows the curve of the heel counter and has a secure backing. A bulky grip can push the heel forward and leave toes cramped, especially in narrow shoes.
For impact comfort, try a slim full-length insole before a thick heel-only insert if the shoe has enough room. Full-length support spreads the change across the foot, while a heel pad creates a more local adjustment. Neither option is universally best – it depends on the shoe, your stride and how much space is available.
A useful rule is to test any new insert indoors first. Walk up and down stairs, stand on one foot, and check whether your heel remains stable. Then try a short outing before relying on it for a long run, hike or event. Your feet should feel settled, not perched higher or squeezed tighter.
Signs the pad is not working
Stop and reassess if your toes begin hitting the front of the shoe, your arch feels unusually pressured, or rubbing appears in a new place. A pad that repeatedly slides, bunches or peels away is also unlikely to be dependable when you are moving for hours.
If you have persistent heel pain, numbness, swelling, broken skin or a change in the way you walk, a shoe insert is not the whole answer. A pharmacist, podiatrist or other qualified health professional can help identify the cause and advise on the right next step.
Heel grips and blister prevention
A blister is caused by repeated friction and shear – the skin and shoe surface move against each other until the layers of skin become irritated. Heel grips can reduce this movement when heel lift is the cause. But they are only one part of a smarter blister-prevention routine.
Start with fit. Your heel should feel held without being pinched, and there should be enough room in the toe box for your toes to move naturally. Lace your shoes with intention too. A runner’s loop, also known as heel-lock lacing, can improve rear-foot hold without having to overtighten the whole shoe.
Socks matter more than many people expect. Choose clean, well-fitting technical socks for training and longer walks, particularly in warm or wet conditions. A sock that wrinkles or holds moisture can create friction even in a shoe that fits properly. For a known rubbing point, apply an anti-chafe balm to clean, dry skin before you set off. Runglide’s portable balm format is made for this kind of preventative routine, helping create a protective glide where friction tends to build.
The trade-off is simple: a heel grip reduces space, while balm reduces skin-on-shoe drag. If the shoe is already snug, a thin friction barrier may be the better first option. If the shoe is a touch loose and your heel is lifting, a grip alongside sensible lacing can be more effective.
How to fit heel pads properly
Clean and dry the inside of the shoe before applying adhesive grips. Any dust, fabric conditioner residue or moisture can weaken the bond. Before removing the backing, hold the pad in place and check that it sits at the point where rubbing occurs – usually just below the top edge of the heel counter, not so high that it catches the Achilles area.
Apply it slowly from the centre outward and press firmly around the edges. Let the adhesive settle before wearing the shoe for a demanding session. If you are using a removable under-heel pad, position it flat beneath the insole if the manufacturer’s instructions allow. Avoid stacking several inserts. Each layer changes fit, stability and airflow.
Check pads regularly, especially after wet runs, muddy hikes or frequent wear. Replace them when they have flattened, cracked, absorbed odour or begun to move. A worn pad can become another source of friction rather than a solution.
Do not use heel pads to rescue the wrong shoe
Heel pads are excellent for fine-tuning, not for transforming a poor fit. They cannot reliably fix shoes that are a full size too big, a heel counter that is the wrong shape for your foot, or trainers that have reached the end of their working life.
This is especially relevant for endurance events. The shoe that feels acceptable on a ten-minute shop run may behave very differently after two hours of heat, sweat and repeated impact. For a race, long hike or holiday involving plenty of walking, use footwear and pads you have already tested together.
Newry weather has a way of reminding us that conditions change quickly, and the same is true wherever you train. Warmth, rain, hills and distance all affect how feet swell, sweat and move inside a shoe. Build your comfort plan before the rubbing starts, rather than hoping to manage it halfway through.
The best heel pad is the one you barely notice: it keeps your heel secure or comfortably cushioned, lets your foot move naturally, and leaves you free to focus on the miles, the view or simply getting on with your day.