

Blog
Gym Friction Protection Routine Example That Works

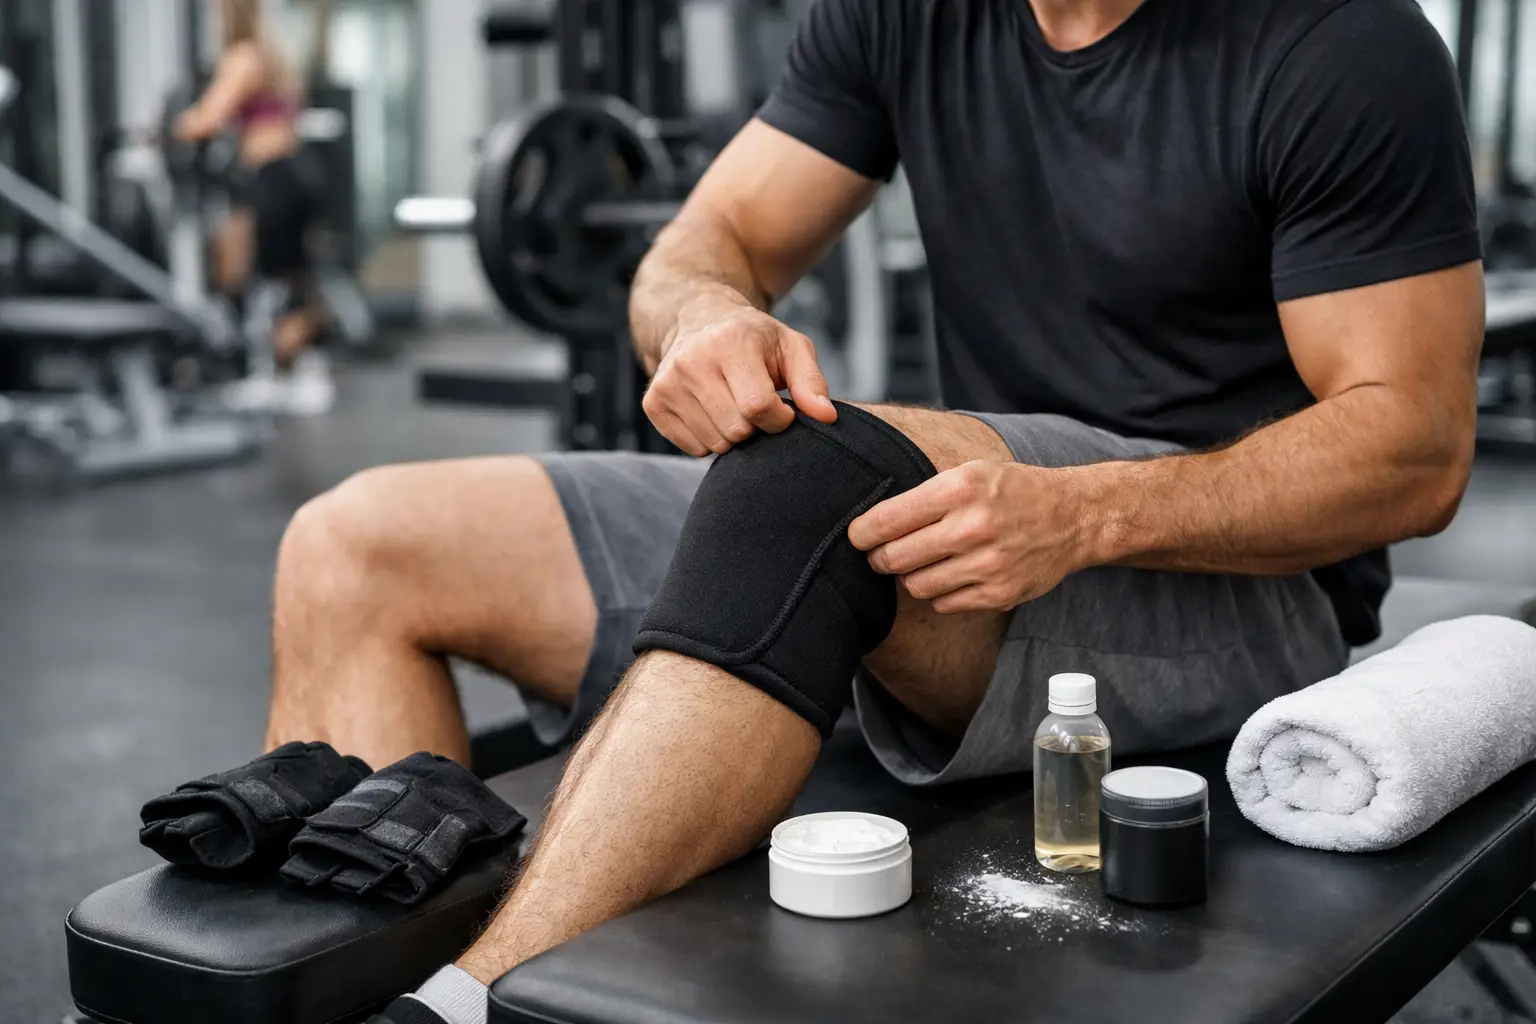
The session can be going brilliantly until your inner thighs start burning on the treadmill, a sports bra seam begins rubbing, or a hot spot develops under your heel. This gym friction protection routine example is built around one simple idea: protect the skin before movement turns a minor rub into the reason you cut training short.
Friction is not only a runner’s problem. Gym-goers deal with it during incline walking, leg day, rowing, cycling classes, circuits and even a long walk home after training. Sweat, heat, repetitive movement and poorly placed seams can all make the same small patch of skin work overtime. A quick routine lets you focus on the next rep, not the irritation.
Your gym friction protection routine example
Treat friction protection like putting on your trainers or filling your water bottle. It takes less than a minute, but it can make a meaningful difference to how comfortably you train.
1. Start with clean, dry skin
Apply protection to clean, dry skin before you get dressed. This matters because sweat and moisture can increase drag, while applying over damp skin can make it harder to create an even protective layer.
You do not need to cover large areas heavily. The goal is a light, consistent barrier on the spots that regularly rub. Think about where your body, clothing or equipment creates repeated contact. For many people, that means inner thighs, under the bra band, along the waistband, underarms, heels or toes.
If you are heading straight to the gym after work, use a tissue or small towel to dry the area first. It is a small adjustment that makes the rest of the routine more reliable.
2. Protect your personal hot spots
The right application points depend on your training and your body. There is no prize for copying somebody else’s routine exactly. Notice where you get redness, stinging, tender skin or the first sign of a blister, then make that area part of your pre-gym preparation.
For treadmill sessions, stair climbing and lower-body circuits, inner-thigh protection is often the priority. Repeated strides create heat and skin-on-skin friction, especially in warmer conditions or when shorts ride up. Apply your balm directly where the thighs meet during movement, extending the coverage slightly beyond the point where rubbing usually begins.
For lifting, focus on clothing contact as much as skin contact. A bra band can rub during presses, pull-ups and rows. Waistbands may chafe during deadlifts, squats and core work when the fabric shifts repeatedly. Underarms can also become a problem during high-rep upper-body sessions, particularly when a vest has stiff seams.
For indoor cycling, protect the points where shorts, saddle and skin meet. Properly fitted cycling shorts still matter most, and a balm will not solve a badly fitting saddle or worn-out kit. But friction protection can reduce rubbing during a long class or a sweat-heavy ride.
Foot care deserves equal attention. A hot spot on a heel or toe can change your stride before you realise it. Apply a thin layer to common blister areas before putting on clean, dry socks. If your trainers are new, your socks are thin, or you are planning a long treadmill incline session, this step is particularly worthwhile.
3. Choose kit that does not fight the barrier
A balm works best alongside clothing and footwear that fit properly. Choose breathable training kit that stays in place, and look for smooth seams in areas that move most. A garment that repeatedly bunches at the groin, underarm or waist can eventually overpower any topical protection.
This is where a little trial and error helps. Loose shorts may feel cooler, but they can create thigh rub if the fabric rides up. Compression shorts can reduce skin-on-skin contact, yet they may cause waistband chafing if they are too tight. The best option is the one that remains comfortable through your actual workout, not just while standing in the changing room.
The same applies to footwear. Trainers should have enough room for your feet to swell slightly as you train, without allowing the heel to slide. Socks should be dry, supportive and free from worn patches. If blisters persist in the same place despite good preparation, assess the shoe fit rather than simply applying more product.
Adjust protection to the workout ahead
Your friction routine should reflect the type of session, its duration and how much you expect to sweat. A 40-minute weights workout needs a different approach from a two-hour gym endurance session.
Short strength sessions
For a standard strength session, protect the places affected by your kit: bra band, waistband, underarms or inner thighs. If you usually train in stable, well-fitting clothes and do not sweat heavily, a focused application is normally enough.
Still, do not ignore friction just because the workout is short. High-rep sets, burpees, sled work and loaded carries create more movement than a conventional lifting plan. When your training includes conditioning at the end, prepare for that portion too.
Cardio and hybrid training
Treadmill intervals, rower sessions, HIIT and hybrid workouts generate more heat, more sweat and more repeated movement. Apply protection more deliberately to inner thighs, underarms and feet before you begin. Keep your water close, because dehydration can leave you feeling hotter and less comfortable overall.
If you are training for a fitness race, long charity event or endurance challenge, practise your routine in training. Do not leave new shorts, different socks or a new balm until event day. The most dependable routine is one you have tested through hard sessions.
Long gym sessions
For longer workouts, pack your friction protection with your essentials. Reapply only if needed, such as after a shower, a clothing change or several hours of movement. There is no need to interrupt a session that feels comfortable, but having a stick in your gym bag gives you an easy answer at the first sign of rubbing.
A portable option such as Runglide RG Anti Chafe Balm fits naturally here. Its petroleum-free, oil-free and cruelty-free formula is designed to provide a protective glide without turning your kit into a greasy mess. The point is not to overcomplicate your gym bag. It is to keep a practical layer of invisible armour ready when your training demands it.
Know when to stop and reset
Protection is preventative, not permission to push through damaged skin. If you feel a sharp sting, burning sensation or blister forming, pause and check the area. Continuing to rub irritated skin can turn a manageable problem into something that affects the rest of the week.
For early redness, reduce the source of friction. Adjust your shorts, change damp socks, retie your trainers or alter the equipment setting if it is creating awkward contact. If the skin is broken, keep it clean and avoid activities that continue to aggravate it until it has recovered. Seek advice from a healthcare professional if you notice signs of infection, severe pain or symptoms that do not improve.
After training, shower or rinse off sweat promptly, dry the skin gently and change out of damp kit. This post-workout habit supports comfort, particularly in areas where moisture and fabric have been trapped for an hour or more.
Make comfort part of your training standard
The best friction protection routine is not dramatic. It is the small, repeatable preparation that lets you take the extra walking interval, finish the class or train again tomorrow without raw skin getting in the way.
Pay attention to your own pressure points, apply before the sweat starts and keep your kit working with you. When comfort is handled early, your energy can go where it belongs: into moving stronger, longer and with more confidence.