

Blog
A Long Walk Blister Prevention Example That Works

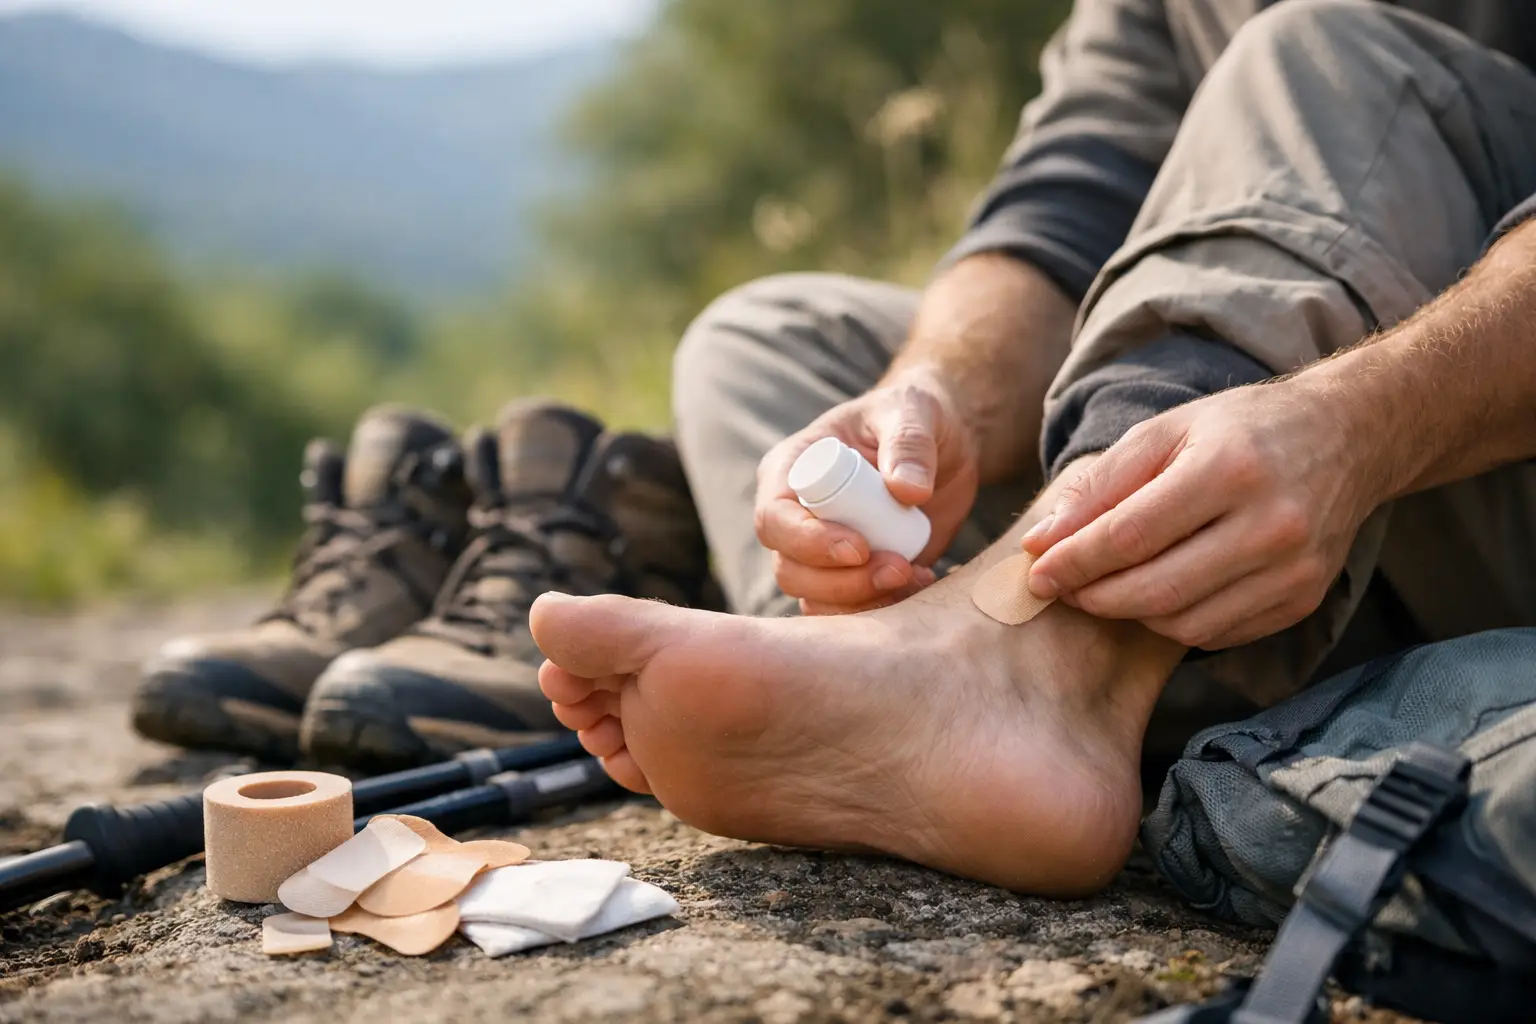
Your feet can feel perfect for the first five miles, then suddenly develop a hot spot that turns every step into a negotiation. That is why a long walk blister prevention example should start before you leave the house, not when you stop to inspect a sore heel. Blisters are rarely bad luck. They are usually the result of friction, heat and moisture building up for longer than your skin can handle.
Whether you are walking a coastal route, training for a charity trek or simply covering serious distance on holiday, the aim is the same: protect the skin early, manage the conditions around your feet and keep moving with confidence.
Why blisters show up on long walks
A blister forms when repeated rubbing separates layers of skin and fluid fills the gap. On a long walk, that rubbing may come from a shoe that shifts slightly at the heel, a sock that bunches at the toes or damp skin that has become softer and more vulnerable. Add hills, warm weather or a heavier pack, and the forces on your feet change again.
Fit matters, but “comfortable in the shop” is not the same as comfortable after four hours. Feet naturally swell as you walk. A boot or trainer with just enough room at the start can become restrictive later, especially across the forefoot and toes. On descents, your foot can slide forward and create pressure where the shoe feels harmless on flat ground.
Moisture is the other quiet culprit. Sweat, rain and wet grass can all leave socks damp. Damp skin creates more friction and is more likely to shear. That does not mean you need to fear every puddle. It means you need a plan for keeping moisture from becoming a full-day problem.
A long walk blister prevention example for 20 km
Imagine you are heading out for a 20 km walk with a mix of pavement, paths and a few steady climbs. You have worn your walking shoes before, but this will be your longest outing in them. The night before, do not make the classic mistake of trying brand-new socks, insoles or lacing techniques. Use gear you already know is broadly comfortable.
In the morning, begin with clean, dry feet. Check the places that usually rub: the backs of your heels, the sides of your big toes, the ball of each foot and any spot where a seam or shoe edge tends to catch. If you have a recurring problem area, protect it before friction begins. A friction-reducing balm can create a protective barrier on intact skin, helping skin and fabric glide rather than grab. Runglide Anti Chafe Balm is designed for this kind of portable, pre-walk protection without petroleum or oils.
Put on technical walking socks that fit smoothly, with no folds around the heel or toe box. Wool blends and synthetic performance fabrics generally manage moisture better than everyday cotton, which can hold onto sweat. The best choice depends on your feet and the weather, but the rule is simple: your socks should stay close to the skin without feeling tight.
Lace your shoes so your heel is held securely without crushing the top of your foot. If you often slide forward on hills, a heel-lock lacing method can reduce movement inside the shoe. Walk around the house for a few minutes. If you can already feel a seam, pressure point or slipping heel, fix it now. It will not improve at kilometre 14.
At roughly 7 km, take a short break, even if nothing hurts. This is not about slowing your day down. It is a preventative check when a small adjustment can still matter. Remove grit from your shoe, smooth your sock and assess whether your feet are damp. If your socks are soaked from rain or sweat, change into a dry pair. Carrying one spare pair takes little space and can save the second half of a walk.
At 12 to 15 km, pay attention to sensation rather than waiting for pain. A hot spot often feels warm, tender or slightly prickly before a blister is visible. Stop, dry the area if needed and add protection appropriate for the spot. Do not simply tighten your laces and hope for the best. If your heel is rubbing, for example, a tighter shoe may increase pressure rather than reduce movement.
By the final kilometres, your focus is controlled movement. Shorten your stride on descents, especially if your toes are hitting the front of the shoe. Keep your pace realistic. Blister prevention is not only about what you wear. Fatigue can change your gait, and a sloppy gait can create new friction in places that were fine at the start.
Build your footwear system, not just your kit
The most reliable prevention comes from a combination of shoe, sock, skin protection and habits. A brilliant pair of walking shoes cannot fully compensate for wet cotton socks. A good balm cannot solve a shoe that is too small. Think of each part as a layer of invisible armour.
Choose enough room, not extra movement
Walking shoes and boots need space for toe movement and natural swelling, particularly for longer routes. But too much volume lets your foot slide, which creates friction at the heel and forefoot. Try footwear later in the day if possible, when your feet are slightly larger. Wear the same type of socks you intend to walk in and test the fit on an incline where you can feel whether your toes move forward.
New footwear should be introduced gradually. Start with short walks, then build duration and varied terrain. A shoe can feel great for 30 minutes and reveal a rubbing point after two hours. That is useful information, not a failure. Adjust the lacing, sock thickness or insole before committing to a longer route.
Treat hot spots as an early warning
A hot spot is your chance to prevent a blister, not proof that you need to toughen up. Continuing through sharp rubbing can turn a manageable problem into an open wound that makes the rest of the walk miserable.
If the skin is intact, clean and dry it as best you can before applying a protective dressing or tape designed for friction. Make sure edges are firmly secured, because a loose dressing can become another source of rubbing. If a blister has already formed, avoid popping it unless you have a sound reason and know how to manage it hygienically. Intact skin offers protection. Seek medical advice if there are signs of infection, increasing redness, heat, swelling or discharge, or if you have diabetes or circulation concerns.
Adjust for weather and terrain
A dry, flat city walk and a wet, hilly trail may cover the same distance, but they ask different things of your feet. In warm conditions, prioritise breathability, moisture management and a mid-walk sock check. In wet weather, pack dry socks in a waterproof pouch and accept that changing early is often faster than treating a blister later.
Downhill routes put extra pressure on toes and the front of the foot. Uphill routes can increase heel lift, especially if your footwear is not laced securely. Pavement creates repetitive impact, while uneven paths demand more stabilising movement and can alter where your feet rub. Plan according to the route rather than relying on one routine for every outing.
Your pack also matters. Extra weight changes how your foot lands and can make small fit issues more obvious. If you are preparing for a trek, practise in the shoes, socks and pack weight you will actually use. Training walks are the right place to find the weak links.
The small habits that protect the last mile
Keep toenails trimmed straight across and smooth any sharp edges before a long walk. A nail catching the end of a shoe can cause more trouble than people expect. Make time for your feet after the walk too: wash, dry thoroughly and check for tender areas before they become tomorrow’s problem.
Most importantly, give yourself permission to stop early when something feels wrong. A two-minute sock adjustment is not lost momentum. It is how you protect the miles still ahead. The strongest long-walk routine is not complicated: notice friction early, respond calmly and keep your feet ready for wherever you choose to go next.